|
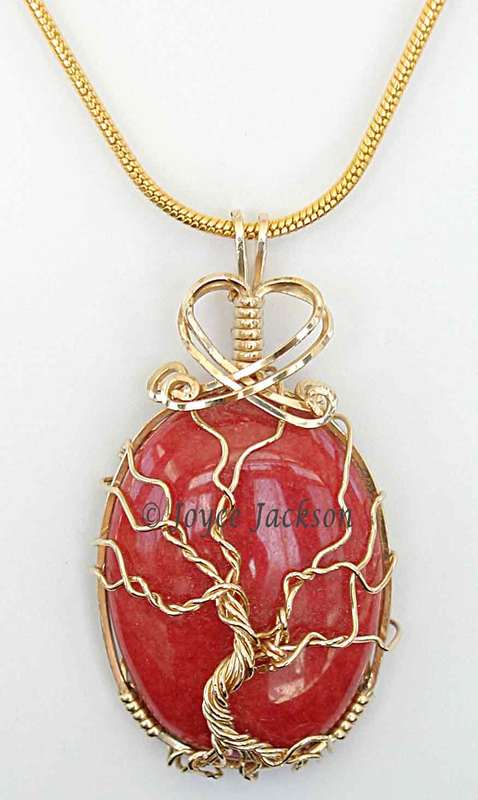
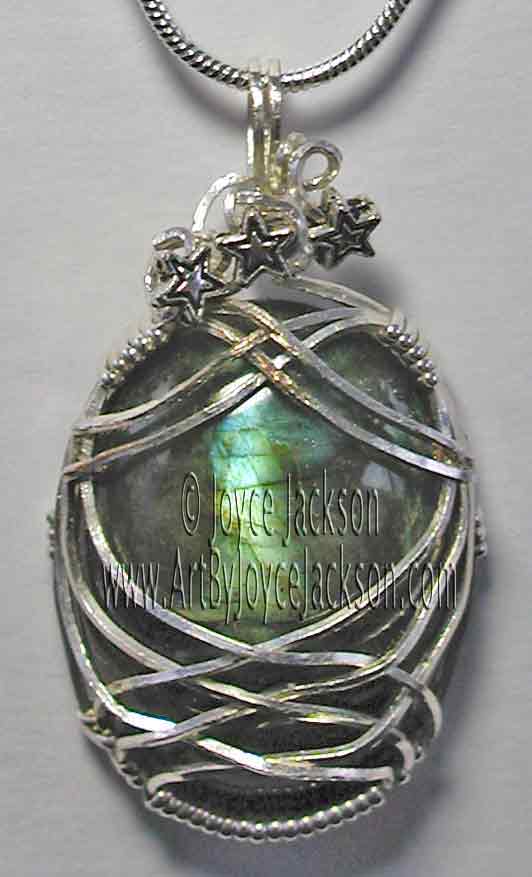
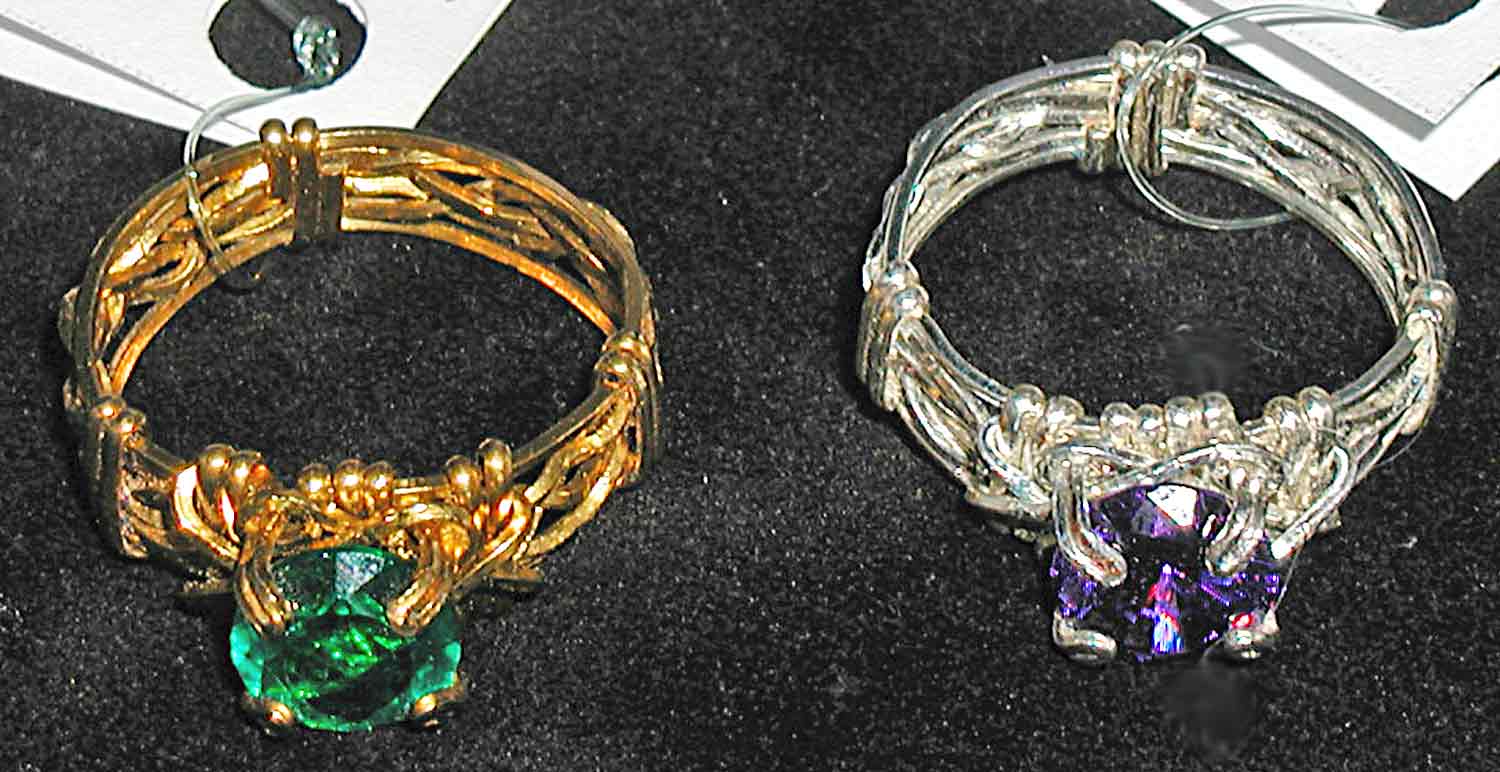
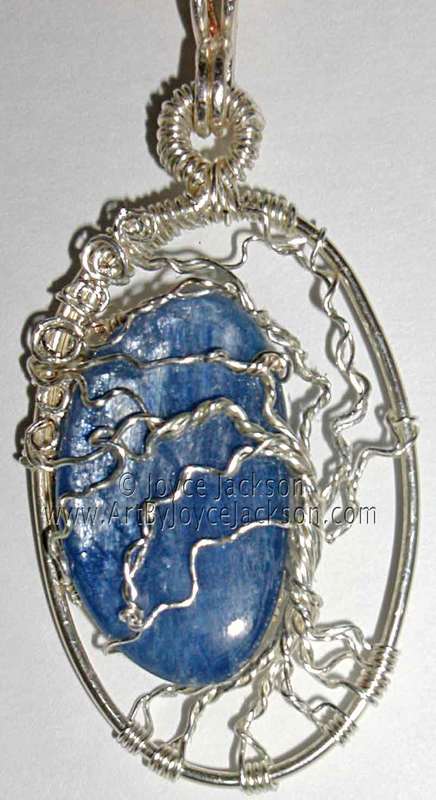
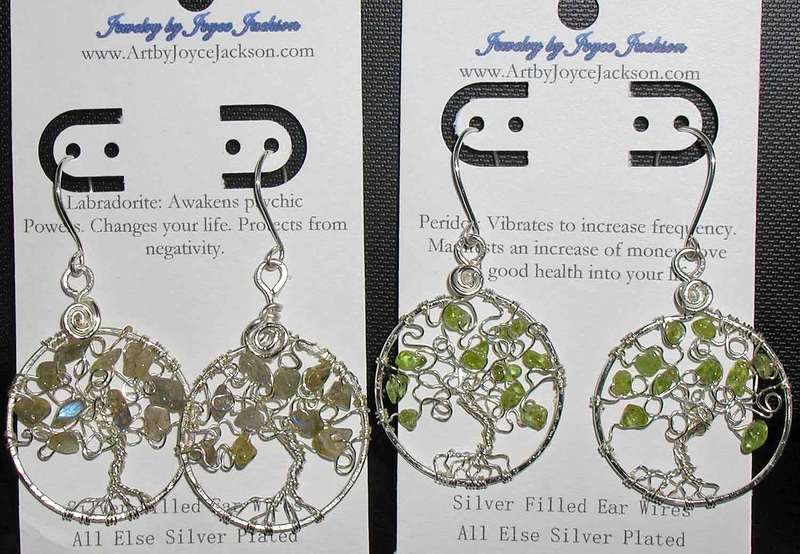
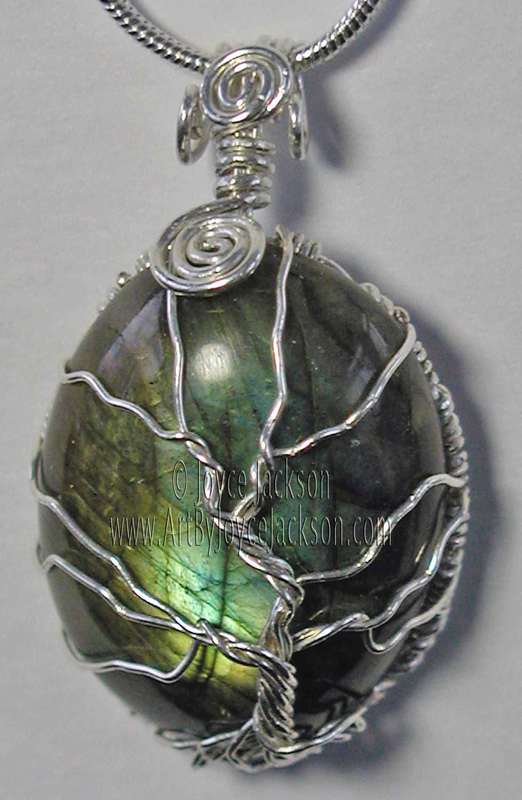
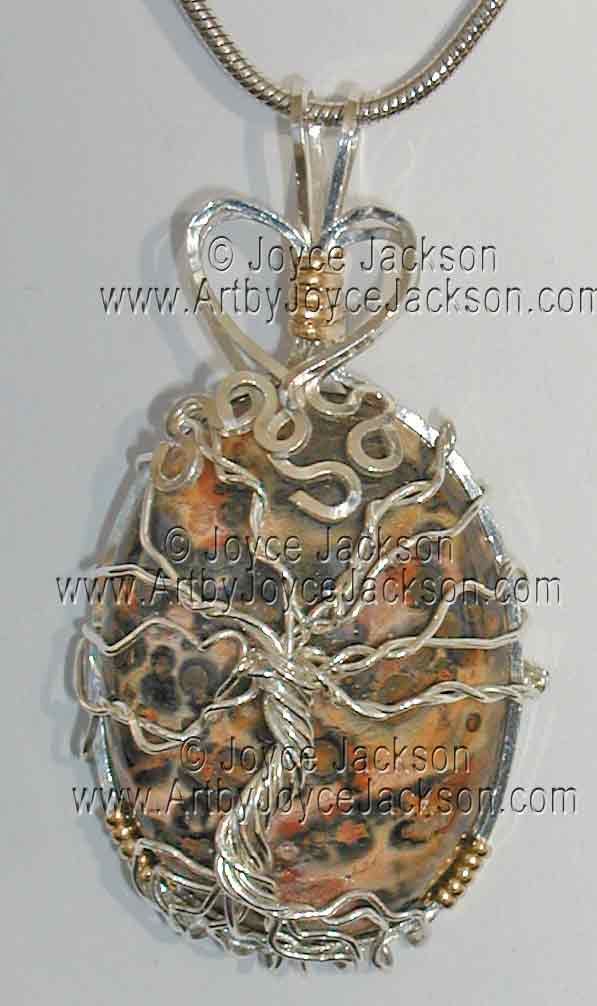
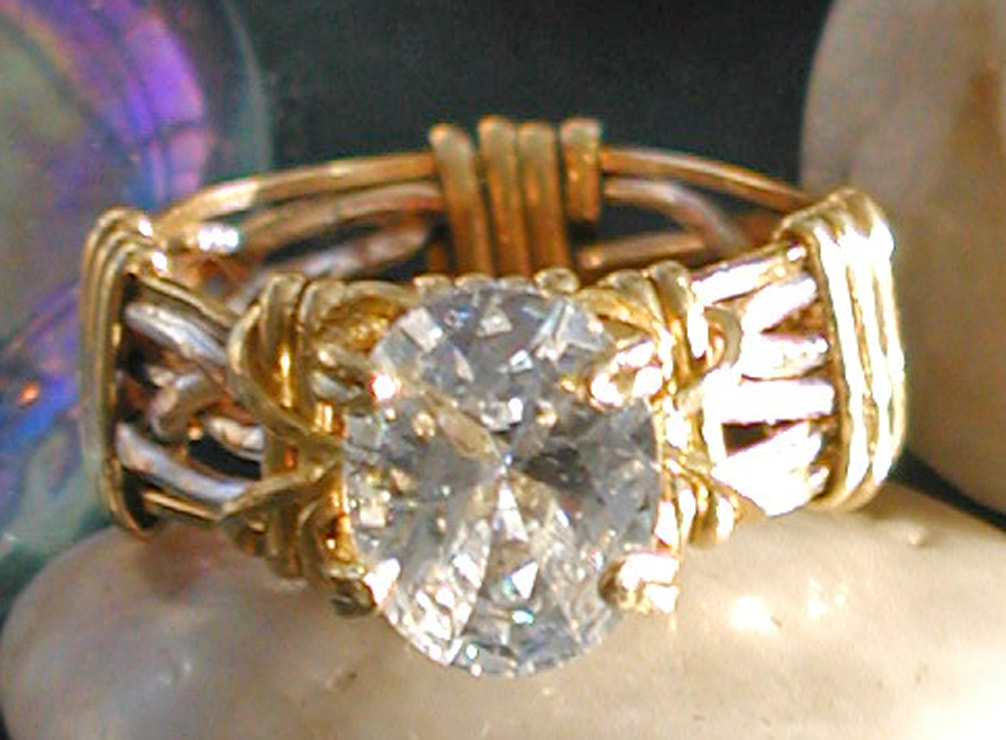
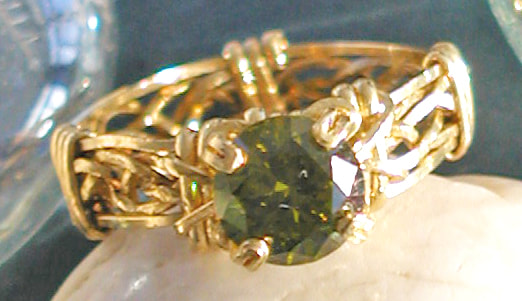
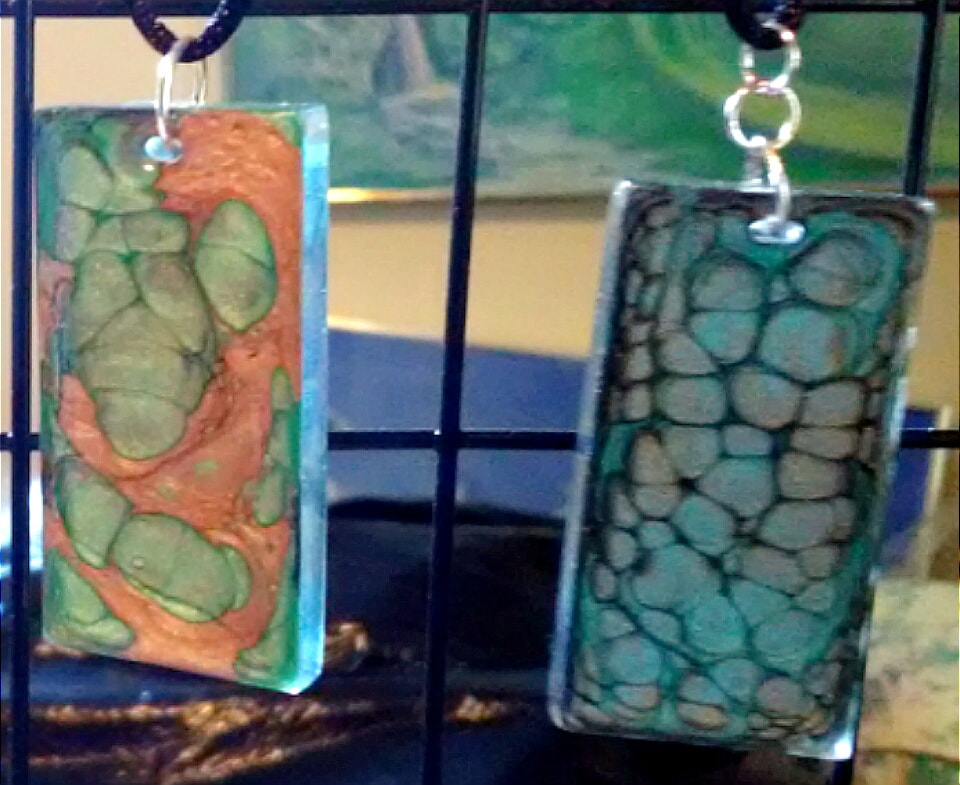
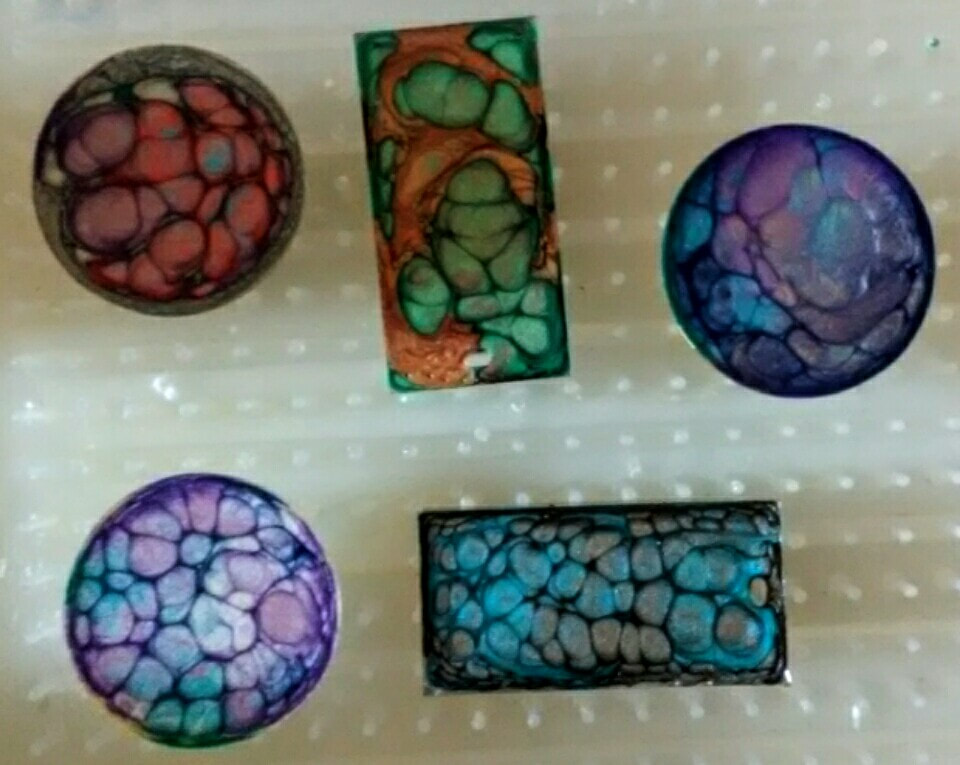
The Arts Center of the Capital Region, 265 River St, Troy, NY is hosting its annual Holiday Shop through December 23, 2018. This year, I'm honored that some of my jewelry is being included there. I delivered my wire wrapped fine jewelry yesterday. I also added my line of paint-poured necklaces with children or adults with limited income who want to buy gifts at a very affordable price in mind. The Holiday Shop is only open for a limited time, November 30 and weekends in December. It opens starting today, November 30, at 12 PM through 4 PM. See the full listing of dates and hours here Here is a sampling of my jewelry being offered there. Update, Dec. 11, 2018. I added more pics of the ones I have in this offering. I haven't visited to find out which ones are still available. Good incentive to get out to The Shop this coming weekend & see. I added a total of 31 jewelry items to this year’s Shop. The last picture shows my resin poured paint pendants before they were made into necklaces. Stop by soon and enjoy your holiday shopping experience in beautiful downtown Troy, NY. I must say, I was very pleased to be in that neighborhood of Troy last night observing the improvements made since I first lived in this area in the 1970's. The Arts Center is surrounded by beautiful and impressive urban features such as a giant statue of a dramatically posed female figure in a special area devoted to its display. I didn't have time to investigate it more closely to learn more details. The holiday lights on trees along the Hudson River river, which is in view a short distance down the street, lent a very warm feel to the atmosphere there. I felt reassured that everything is going to be alright there like I never used to. Troy, New York has become a true arts destination for this area. A very welcome change.
0 Comments
I’ve tried out many different palettes over the years. I like the 3 separate pieces this one has. I prefer this one for size too. It’s not too large or buIky for moving around as you work. It’s sturdy & relatively easy to clean. I has a built-in re-sealing system which is supposed to slow paint drying when you close it up.Any palette has its advantages & disadvantages. I used this plastic palette for my latest acrylic painting on canvas. I can’t remember what brand it is. It may still be available at most art supplies stores and the internet. I haven't checked. More details on my latest painting coming soon! Above is an actual photo of how clean the trays looked after about a half hour or less of scraping & peeling off built-up layers of acrylic paint. The following photos illustrate the process of cleaning the palette. You decide how clean you need it to be. I like to remove as much of the tiny bits of dried paint as possible. They’re a real nuisance if they’re left on. They can get mixed into the new paint you squeeze out during your next project. They get picked up by your brush and transferred to the canvas. That’s when you see them as little lumps in an otherwise smooth stroke of paint. You have to dig into it with a fingernail or knife to pull them out. If you leave them there, they can ruin the appearance of your painting. 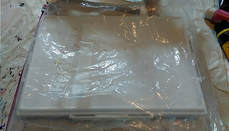 1) Closed palette inside a large zip-closed bag. I wish it would do better at keeping the paint from drying out overnight. I could have put a damp paper towel in the bag or under the inner tray before closing it. I’ll try that next time. 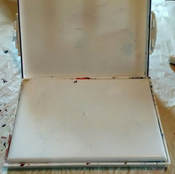 3) The 2 separate inner units (bottom half as shown here) that are held together by the snap-on lid (top in photo). The center, fitted tray is inverted & seated so that its edges fit inside both the upper and the lower unit when sealed. The lower unit serves as the bottom lid when the whole thing is sealed shut. (All 3 trays were sandwiched together as a single unit before the side flaps were pulled open, enabling the separation of each individual unit.) 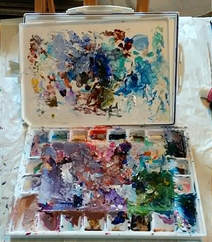 4) The dried paint layers that I allowed to accumulate during the entire 2-week time frame when I was creating a painting. The paint layers peel off easier if they’re thicker. That’s one reason I left them there & didn’t peel them off every day. The prior day’s paint was usually too dry to re-use the next day. But sometimes, I was able to re-use it. Leaving it there was also time-saving. I needed to shave off prep time however I could. The 2-week deadline before the painting had to be delivered was shorter than I'm accustomed to working under. But I got it done in time. Whew! 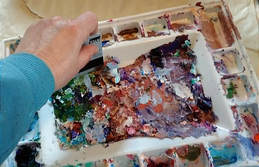 5) After I finished the painting & delivered it, I started on cleaning the palette. I used an old credit card to scrape the paint off the trays. It was easy on the large flat areas. For the paint wells at the sides, I used my fingers & fingernails to peel at the bits of paint that I couldn’t remove by scraping with the credit card. Other tools I’ve used are wooden popsicle sticks, tongue depressors, dull steak or butter knives, or a small piece of credit card cut from a whole one. Again, each has advantages & disadvantages. If the wooden sticks get wet, they bend & break. But they’re less likely to scratch the plastic which you need to avoid doing. I worked on it at the sink. The bulk of the paint debris was disposed of in the waste basket dry. Then occasionally at first, I rinsed with water to get tiny bits of dried paint debris off when scraping wasn't enough. As a general rule, I always keep in mind not rinsing too much paint, especially wet paint - down the sink drain. It could clog the drain and plumbing pipes. It would be a very expensive blunder! 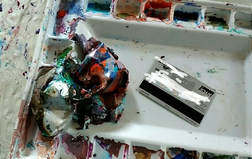 6) How the peeled paint looks after a little scraping with the credit card. An even quicker way to use this palette & avoid putting this much time into cleaning and maintenance involves cutting a piece of palette paper or parchment paper used by bakers to the size of line the inner tray – or both trays if desired. You can purchase palette paper at a craft store or buy parchment paper at most grocery stores. Even better than parchment paper is freezer paper which has a shiny side. It's easier to clean, and more water resistant and durable than parchment paper. Also found in grocery stores. Try searching for it in the plastic bags isle. I know it means generating more paper waste. You have to decide for yourself how much economizing and how important being environmentally conscious is to you. You have to weigh each consideration in terms of the value of your time, how much of it you’re willing to spend on cleaning & prep vs. actual time painting, how far you want to go to conserve resources, and so on. You have to decide what’s right for you. No one else can tell you this. The decision is yours. If you don’t like the idea of consuming lots of paper waste, you might opt not to use paper liners. You’d be throwing them away & replacing them at intervals vs. investing time in cleaning the unlined plastic trays. How often you replace paper liners is up to you also. Every day, or every other day, or whatever works for you. If you’re on a limited budget, the cost of consuming paper liners will be another consideration. In any case, the paint wells along the sides of the middle tray are more challenging to clean. Lining them with paper isn’t a good option. I used my fingers and fingernails to scrape the sides and corners to remove the paint. I didn’t want to put time into hunting down my wooden sticks or my dull knife. I get impatient having to search for things. But also, nothing works for me as efficiently as my own hands. But if I have hand fatigue or don’t want my hands to be soaking wet for such a prolonged period of time, I’ll resort to using the wooden tools or a knife. It requires being extra careful not to put scratches into the plastic which will make gouges that are harder to keep clean in the future. I hope you enjoyed this installment of my story on palette use. Watch for my announcement on my Summer themed painting which will be in an exhibit at Mabee Farms in Rotterdam Junction, NY through July, 2018. Available for purchase.
Pics of my art as it went up and was labelled at the coffee shop where I'm doing a solo exhibit April 3 to 30, 2018. This is located at Uncommon Grounds, 1235 Western Ave. #5, Albany, NY, just west of SUNY-Albany. Driving West from SUNY, take a left a few hundred yards beyond the sign for the entrance to SUNY into the strip mall where Uncommon Grounds is located. You can park there free. The Italian Museum show has now ended but you can still see my painting in this new exhibit at the coffee shop through to the end of April. Look for it within this slide show. It's the only realism painting in the show. It's entitled Sicilian Island Retreat. I'm featuring my abstract poured acrylic paintings in this show. I also have one realism painting in it. It won me a 3rd Place Prize in March. Prizes were Awarded by Juror and professional artist Steve Kowalski. The event took place at American Italian Heritage Museum, 1227 Central Ave., Albany, NY. It was conducted by the artist group of which I'm a member, Schenectady Art Society.
 Here are my offerings* for the 2016 Lunacon in Rye Brook, NY, March 18 to 20. Lower left, a coloring book containing 2 copies each of my black & white fantasy art drawings. Some are never before published. The remaining items in this photo are professionally produced, 11 by 17-inch posters of my fantasy artwork. The paper is coated, 100# glossy. Very sturdy. Makes a great appearance enhancement. All of the posters come sealed in a resealable archival bag plus a white archival backing board. Don't miss out! See more on Lunacon via a search engine. They're also on Facebook and other social media. Have a great time there! *I had them laid out on my kitchen floor for this photo. It wasn't meant to be a high quality image. I was only taking it so that the people who hang the artwork could use it as a layout chart. I promise you, they'll look much better in person.
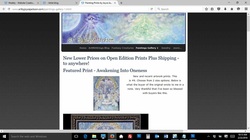 Browser with 3 tabs open - Weebly, Artist blog, and Painting Prints by Joyce Ja... Browser with 3 tabs open - Weebly, Artist blog, and Painting Prints by Joyce Ja...
... and keep users coming back. The secret: Target Links.
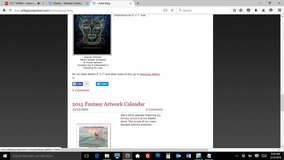 By hovering Mouse over hyperlink, you'll cause the link to appear, lower left. The magic happens when you click on it -IF the coder has taken the time to embed html code for a Target Link. By hovering Mouse over hyperlink, you'll cause the link to appear, lower left. The magic happens when you click on it -IF the coder has taken the time to embed html code for a Target Link.
In the above illustration, you'll see that 3 browser tabs are open. I already had the first 2 tabs open before I clicked on the hyperlink to the Paintings Gallery page (entitled with a separate function not covered here, "Painting Prints by Joyce Jackson") in my blog post. By simply clicking on the hyperlink in my blog post, the 3rd, new tab to the Paintings Gallery page automatically opened up in my browser. This is because I created a Target Link to it instead of just leaving it as a plain old link minus the targeting .html, aka html, code. Without the Target Link code, a new browser tab will not open automatically. It takes the user off the original page and makes it harder, in terms of time and convenience, for them to re-access it. What follows is a detailed description of how to create target links and keep your visitors happy.
This is ordinarily HTML talk for bloggers, website creators, owners. But anyone who has ever needed to create a link can do this. Sit back, relax with a cup of your favorite beverage, read this, re-read, study it, try it out, & let me know what you think. I love when I click a link that takes me to a new tab in my browser. Why? Because if my browser is already open, it automatically opens a new browser tab where the content of the page being linked to is displayed. Why is this desirable? So that the user isn't forced to do this manually or lose their place on the page where they left off before clicking the link. Without a Target Link, when the link is clicked, the user is taken to a new page in their browser, but they can't go back to the page where they left off unless they perform several manual click functions, forcing them to spend excess time on accessing & re-accessing web pages. Simply stated, it's a very polite & friendly way to send a user to a new page, make it convenient for them, and save them time. Here's how to create a Target Link. Open a new Notepad document. Words between brackets are where you insert your text. [Non-hyperlink words (optional). These words will be visible, but will not take the user to a new link if clicked on.]<a href="[Insert full URL between the quotes, no spaces. Example: http://www.artbyjoycejackson.com/fantasy-creatures.html ]" target=_blank>[You can insert - no spaces between it and anything before or after it, to ensure keeping a space between these words and the non-hyperlink words. ** It might work anyway if you just do a spacebar space. This is to force it in case that doesn't work. [Insert hyperlink words here. These words will be visible, and WILL take the user to a new link if clicked on.]</a>[Insert as a spacebar holder. No spaces needed between it and text that follows. Or just do a spacebar space before you type the text that follows the </a>.] [You can continue typing text here. It will be visible, but will not take the user to a new link if clicked on. (That is, unless you create a new Target Link here.)] The following is an example of words following </a>, use of spacebar, a new target link, and   There's a space bar before the word "plus". The visible text is followed by a hyperlink. The visible, hyperlinked text is followed by html code for spacebar, instead of use of an actual space created by pressing the space bar. (The letters "nbsp" stand for non-breaking space.) plus these other items. <a href="http://www.artbyjoycejackson.com/native-woman-fairy-series.html" target=_blank> Native Woman Fairy Series</a>
I created this blog post in Notepad. Now I'll create a usable link from the URL's in the examples above.
See my newest fantasy art. Plus a page devoted to my Native Woman Fairy Series
<br><br>**Caveat: DO NOT substitute for the space after the closing quote and before the html text which reads "target=_blank>". This text is one of keys to your success. You HAVE TO insert a space there by pressing the space bar. It's the only way it will be interpreted correctly to cause the new tab to open in your browser window.<br><br>
|
Joyce JacksonMultimedia artist in clay, paint, and jewelry. Part-time online bookseller. Archives
November 2018
Categories
All
|


 RSS Feed
